RAIJINTEK STYX / STYX CLASSIC No Power Supply MicroATX Case w/ Window (Black)
Its size is pretty small and it can definitely fit a lot of storage inside. Building inside the case was fairly easy, just make sure you use a modular PSU or one with flat cables. The build quality is great with screws securing the entire case together and the panels all feel very sturdy.
- Price for an Aluminum Case
- Aluminum/Steel Construction
- Window in side panel to see the CPU cooler
- Reverse motherboard layout
Raijintek is a company that is not only known for making cases but also various air and all-in-one water cooling for CPUs. They are also known for their Raijintek Morpheus, which is a massive heatsink with fans for aftermarket GPU cooling. Today, we are going to take a look at one case I’ve been meaning to review since they released their aluminium line of cases. The case we will look at will be the big slightly bigger brother of the Raijintek Metis, the Raijintek Styx.
Raijintek Styx Specification
- Dimensions: (WxDxH) 210x360x335 mm
- Weight:464 lbs or 5.2 Kg
- Material: Aluminum
- Colors: Black, Blue, Red, Silver, Blue, Green, Gold, White
- Motherboard Support: Micro ATX, Mini ITX
- Drive bay Storage:5” hdd, 2X2.5” hdd/ssd or 1X3.5” hhd and 4X2.5” hdd/ssd
- Expansion slots: 5 tool free PCI slots
- Power Supply: Standard ATX, Modular is suggested
- Cooling System: Rear Fan: 120mm x 1 (pre-installed), Top fan: 120mm x 2 or 240mm Radiator, Bottom: 120mm x 1
- CPU Cooler Height: 180 mm
- GPU Card Length: 280 mm
- Side panel: Aluminum with window (Classic does not have window)
- Front I/O: Power Button with power LED
- Top I/O: 2 x USB 3.0, Headphone Jack, Microphone Jack
Unboxing
A Closer Look at the Case
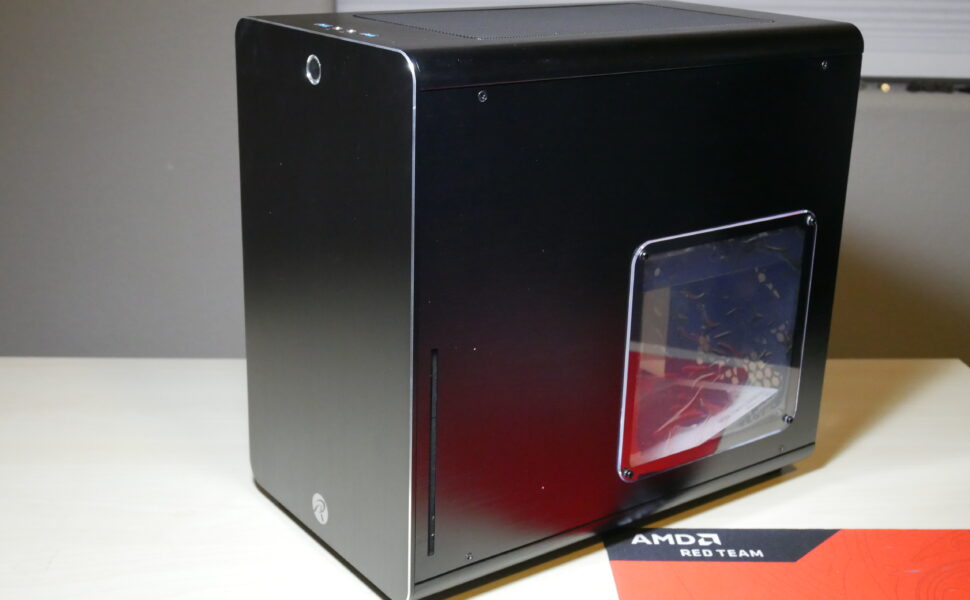
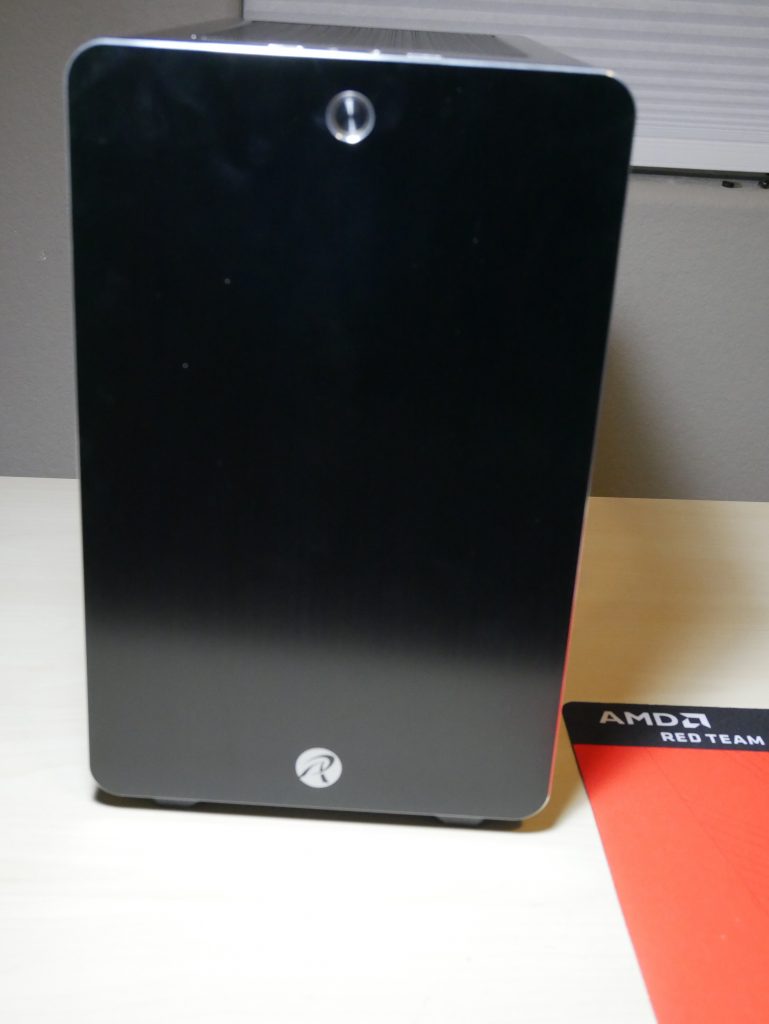
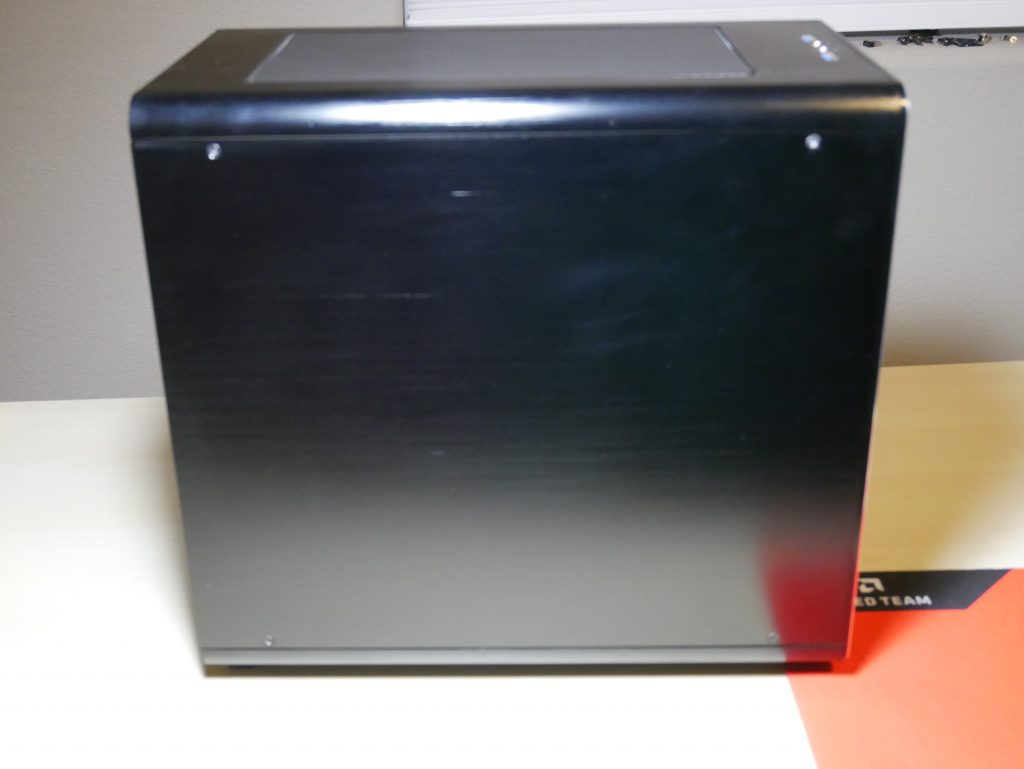
Taking a closer look at the entire case, the Front, Top, Bottom and Side panels are all made out of aluminium. The great thing about using aluminium is that it is very sturdy overall, but it is a fingerprint magnet (get that micro-fibre towel ready). Every panel and piece of this case is secured with screws, this can be great if you are a modder that wants to possibly paint the case. The Front is a solid piece of aluminium that has the Raijintek logo. The right side panel has a window located in the bottom right-hand corner.
The left side panel is just plain. The Top of the case has a large 240mm dust filter. The filter can be removed by pushing a release tab on the inside of the case.
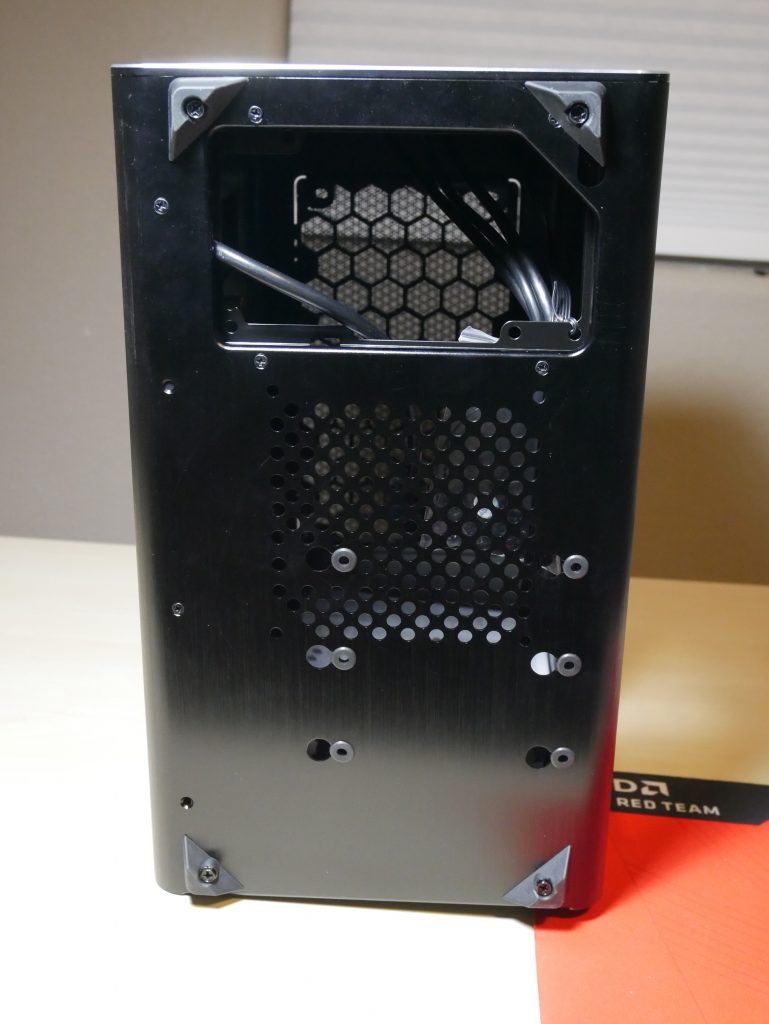
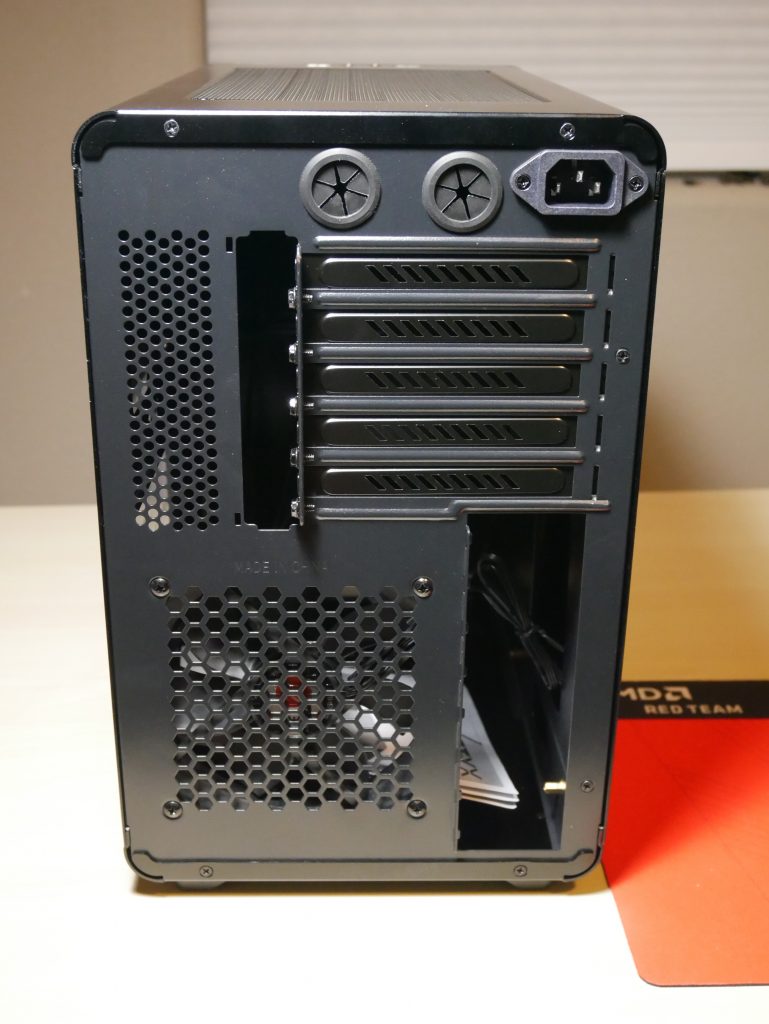
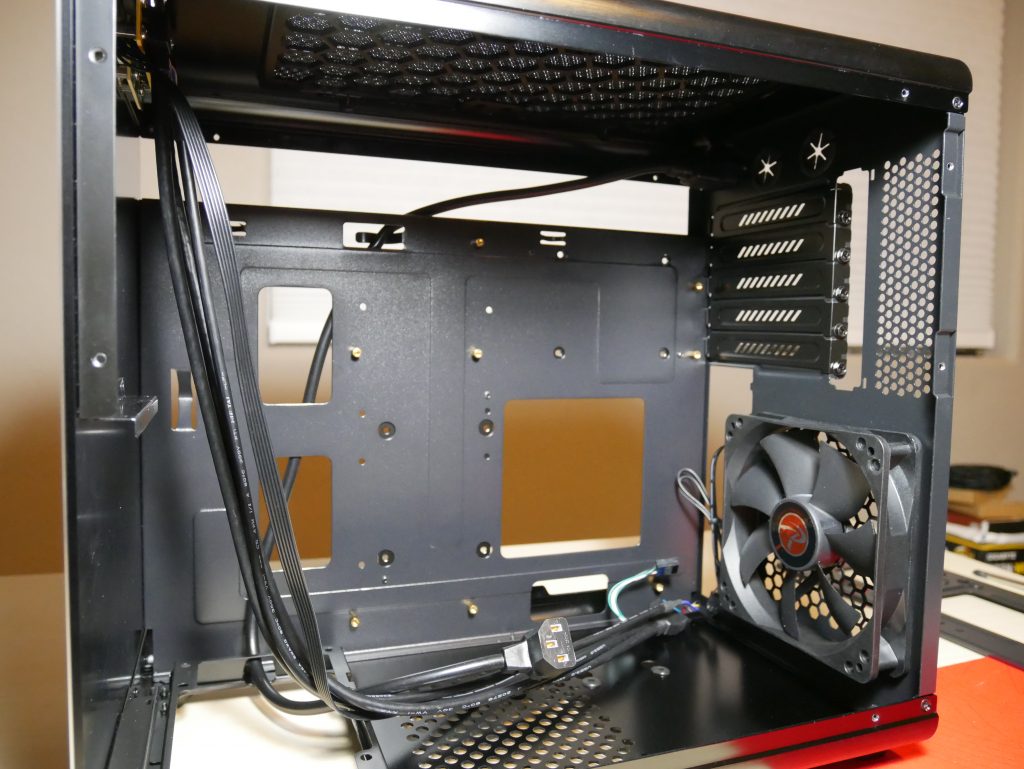
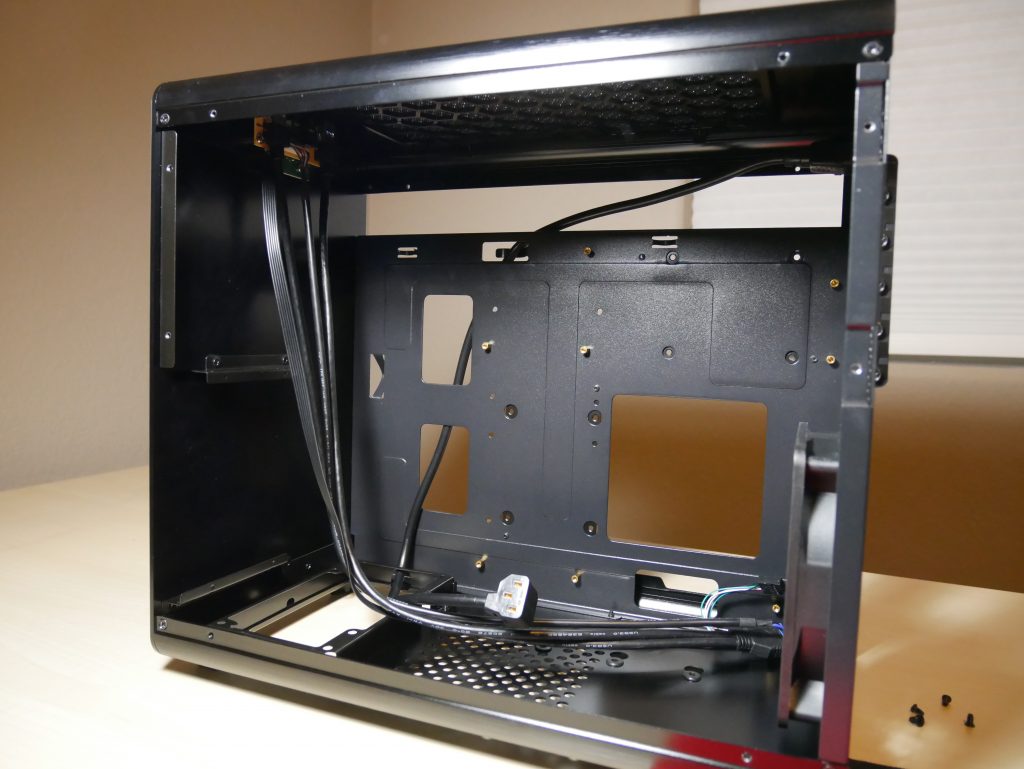
The bottom of the case has ventilation for the PSU and also mounting for a 3.5” drive. The rear of the case has a 120mm exhaust fan at the bottom and 5 PCI expansion slots with a cover over the securing points.
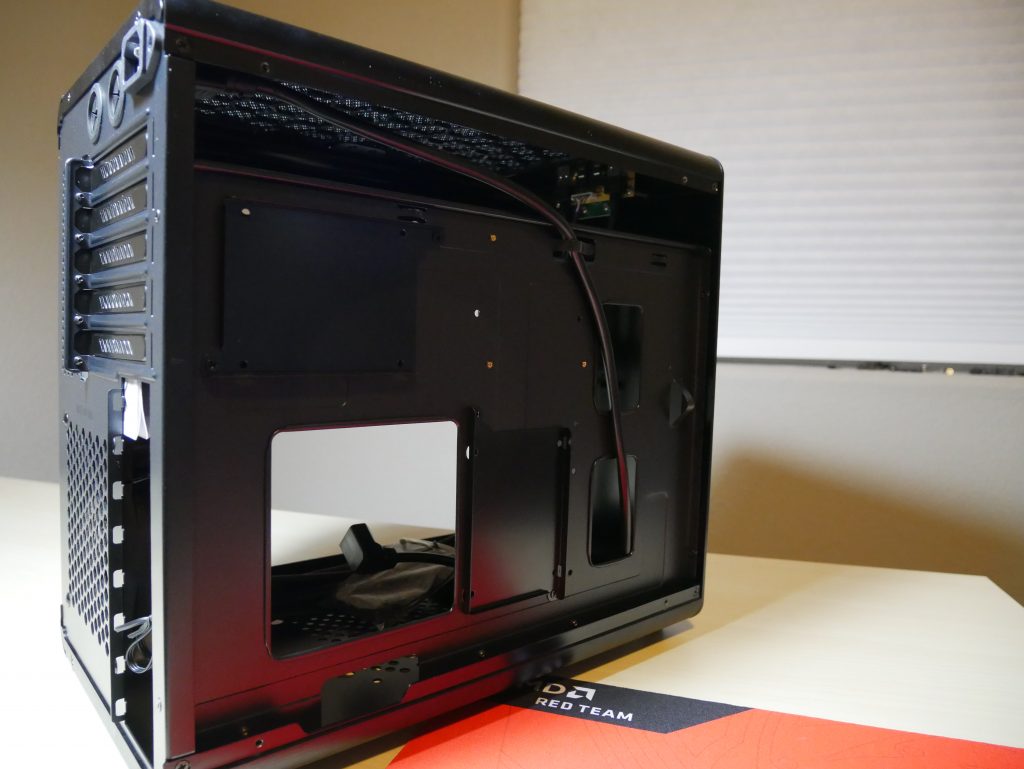
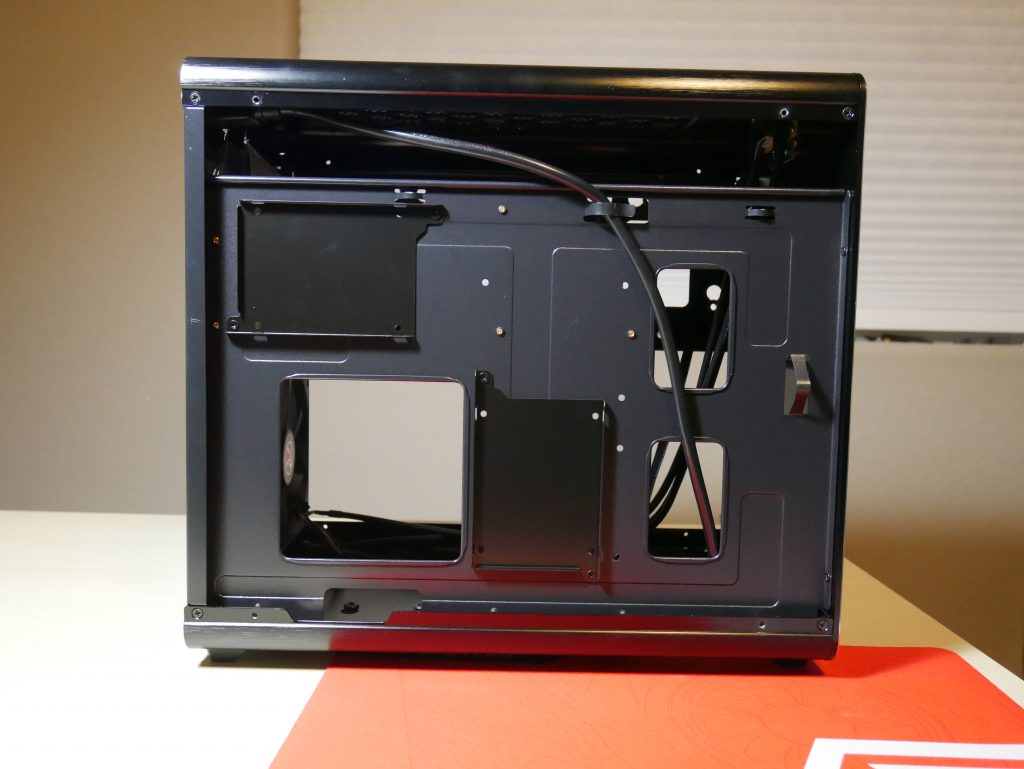
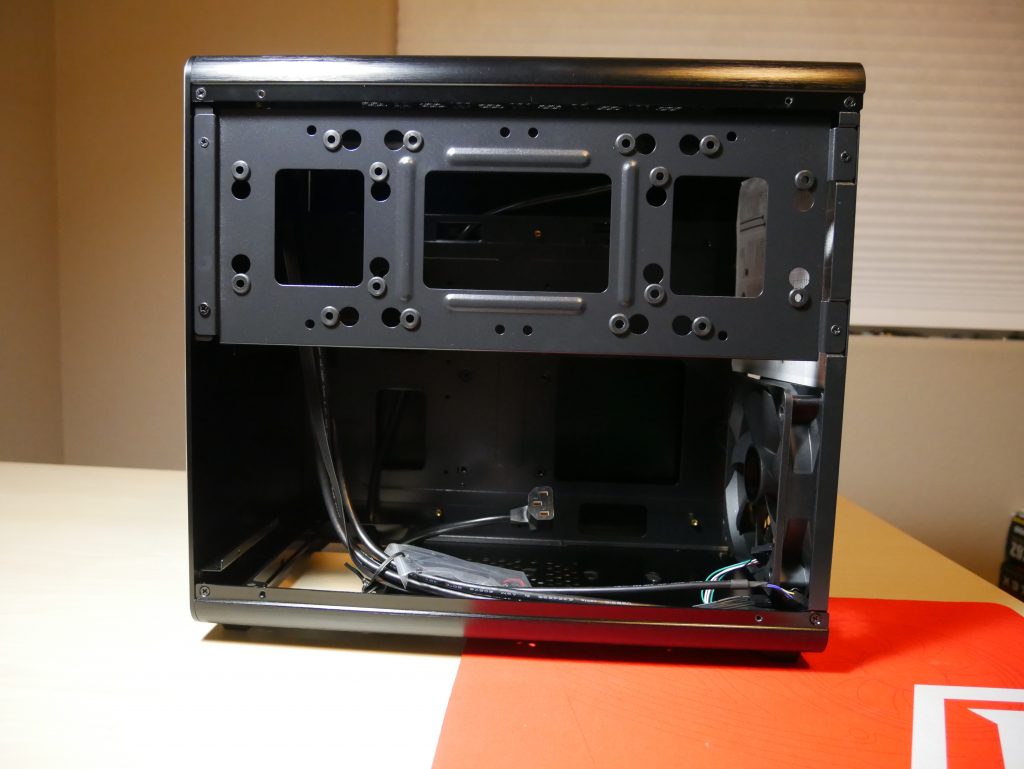
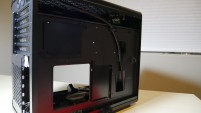
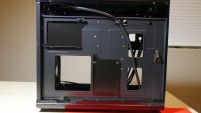
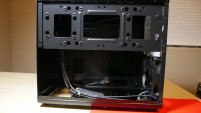
A Closer Look at the inside
Test System and Build Impressions
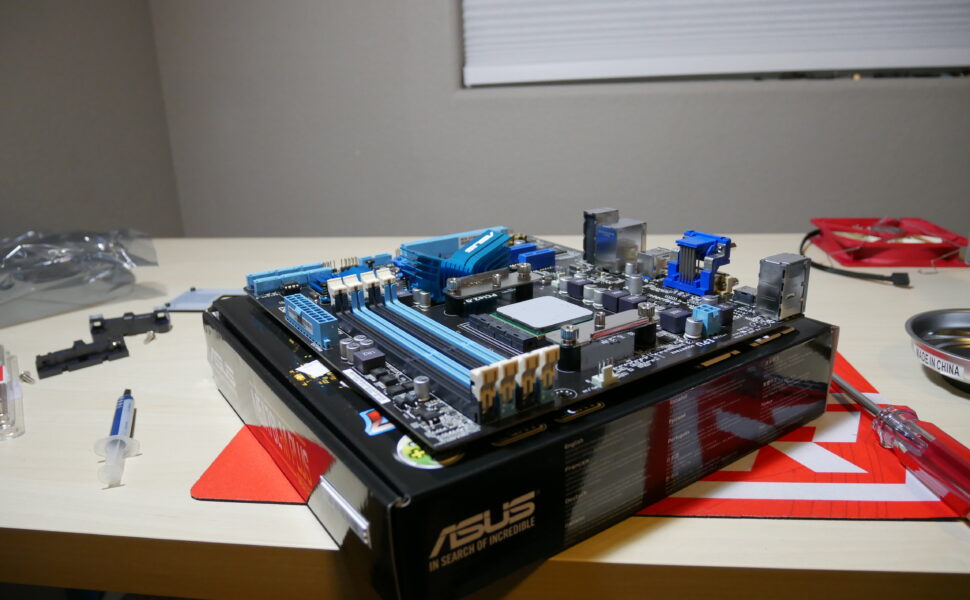
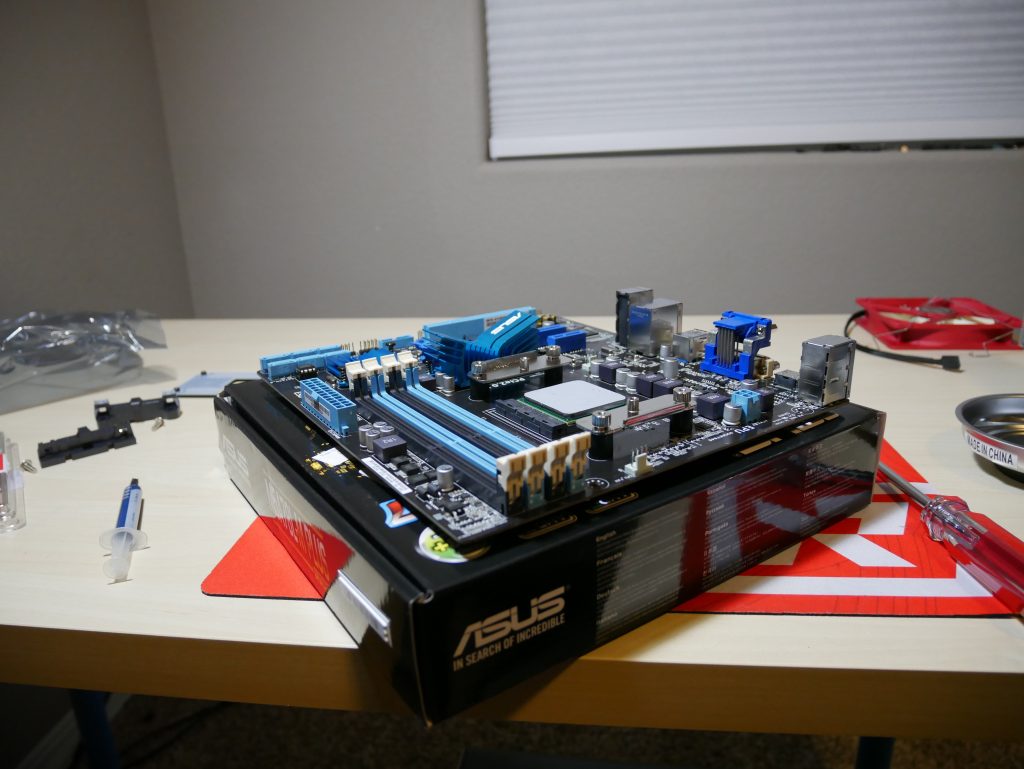
The system being put in this case is made up of many used parts. A picture of the build was not taken, however my review video will have the entire build and process. The list of the parts can be found below:
- CPU: AMD FX 8300
- Motherboard: Asus M5A78L-M Plus
- GPU: MSI HD 6950 2GB
- CPU Cooler: Raijintek Themis
- Storage: Sandisk 240gb ssd, Toshiba 1 TB hdd
- PSU: Super Power 1000w
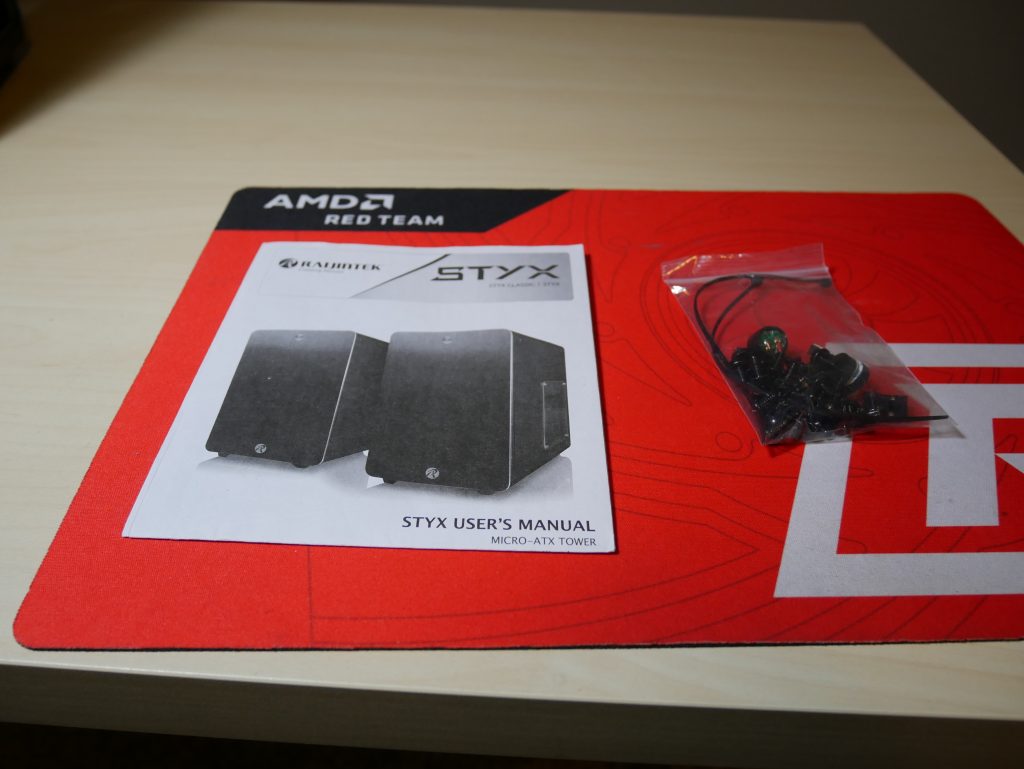
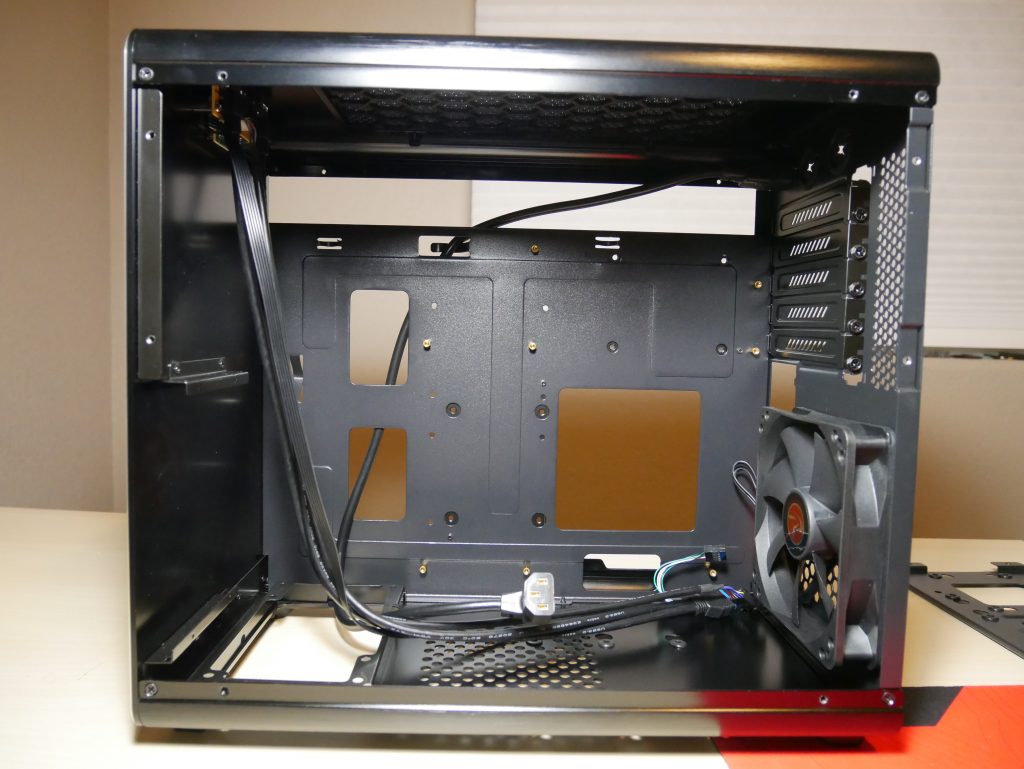
Overall, the build went together without much trouble. The instructions are in black and white but are very clear. Hard Drives and SSDs have grommets that can be attached for easy installation in the case. If you are building in this case try to use a PSU that is not only modular but also has flat cables. There is only about a ½ an inch of clearance behind the motherboard tray. This results in a slight gap between the side panel in the front of the case, due to the large 24-pin cable. The airflow throughout the case is pretty good, with two 120mm fans blowing down towards the GPU, with the CPU cooler directing airflow towards the rear fan and finally the PSU also taking air from within the case and directing it out the bottom of the case. The only dust filter appears at the top of the case.

![[Review] Logitech G502 Lightspeed: Any Good for Gaming? 20210322 170539](https://performancepsu.com/wp-content/uploads/2021/03/20210322_170539-201x113.jpg)
