
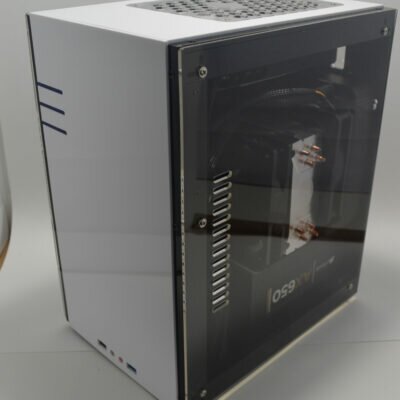
GEEEK MAX M100 Mini-iTX Gaming PC Case
The GEEEK MAX M100 ITX case was the first case I have ever had to put together. I had some challenges in the beginning, but overall felt a great sense of accomplishment once it was all together with the hardware inside. Geeek has mentioned that black and smoked acrylic panels will be launched soon which will be great for those that do not want to look at the backside of the motherboard.This case is not for everyone. This is not your typical LAN case, I would also not recommend shipping this case once it's assembled. It is a great case if you want show off your equipment. Overall, I had a great experience building inside this case. There are not many acrylic cases and a the price, this case is a great value.
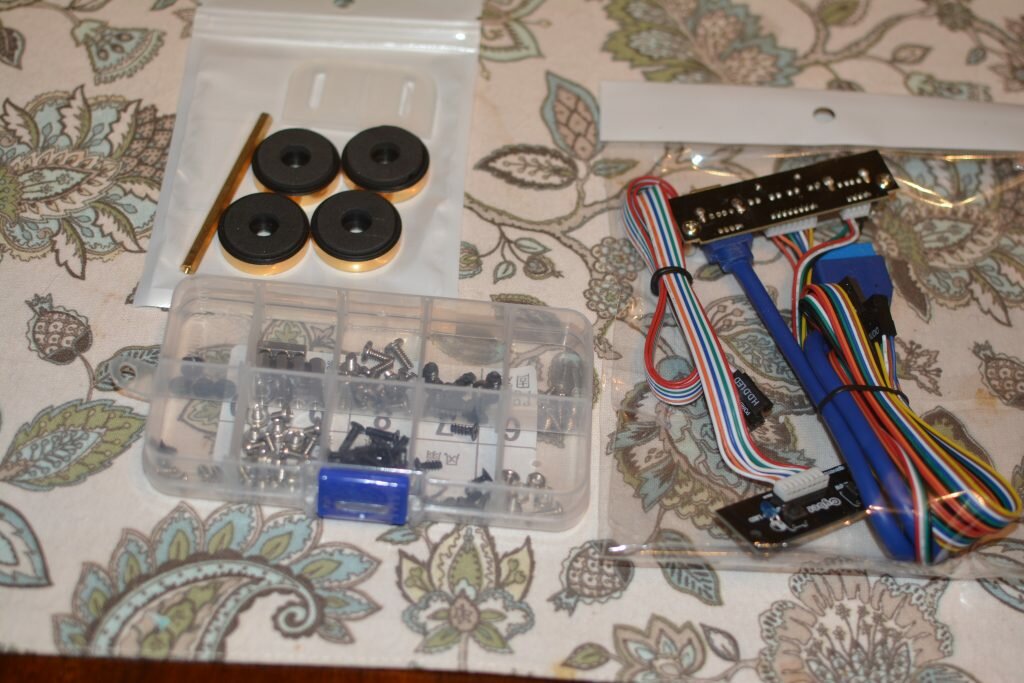
- Included screw and hardware container
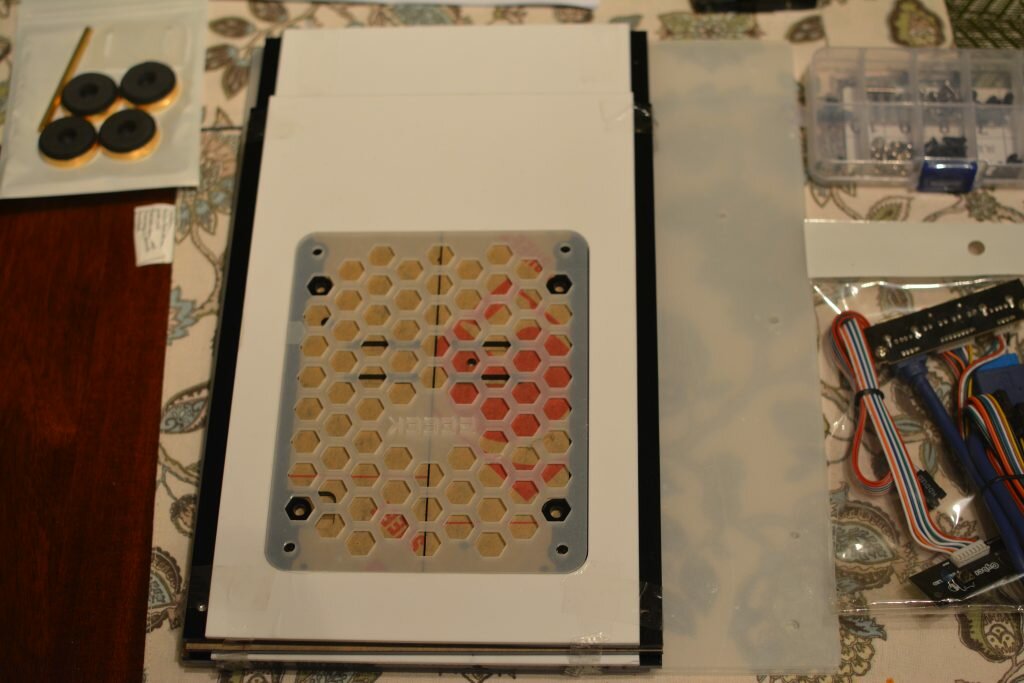
- Well packaged box with foam sheets in between some acrylic sheets
- Protective covering on both sides of the acrylic when packaged
- Clear side panels to see your hardware
- Ability to fit high end hardware
- Unique exterior color choice
Geeek’s Max M100 M-ITX case is a small fully acrylic case that provides the option for water cooling and doesn’t take up much space on your desktop.
One great thing about this case is the price. It can be purchased from their website $49 USD plus shipping. Other acrylic cases on the market start at almost $200 USD.
GEEEK MAX M100 Mini-iTX Case Specification:
- VGA card length: 255mm (10 inch)
- CPU cooler height: 160mm (6.3 inch)
- Dimensions (W x H x D): 196 x 320 x 272mm
- Available in Both White/Black or White/Transparent
- Acrylic Construction
- 2 x 3.5″ HDD or 2.5″
- Cooling System: Top – 120 mm Fan x 1 (not included), Rear – 120 mm fan x 1 (not included)
- Front I/O: USB 3.0, USB 2.0, HD Audio, MIC
- Power Supply: Standard ATX
- Expansion Slots: 2
GEEEK MAX M100 Unboxing
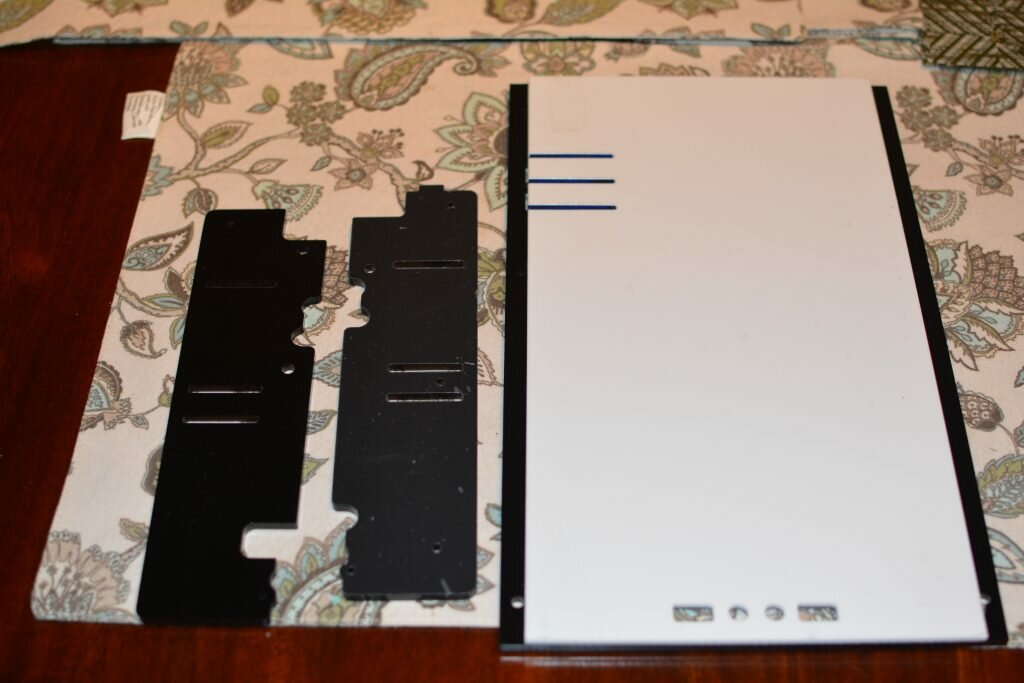
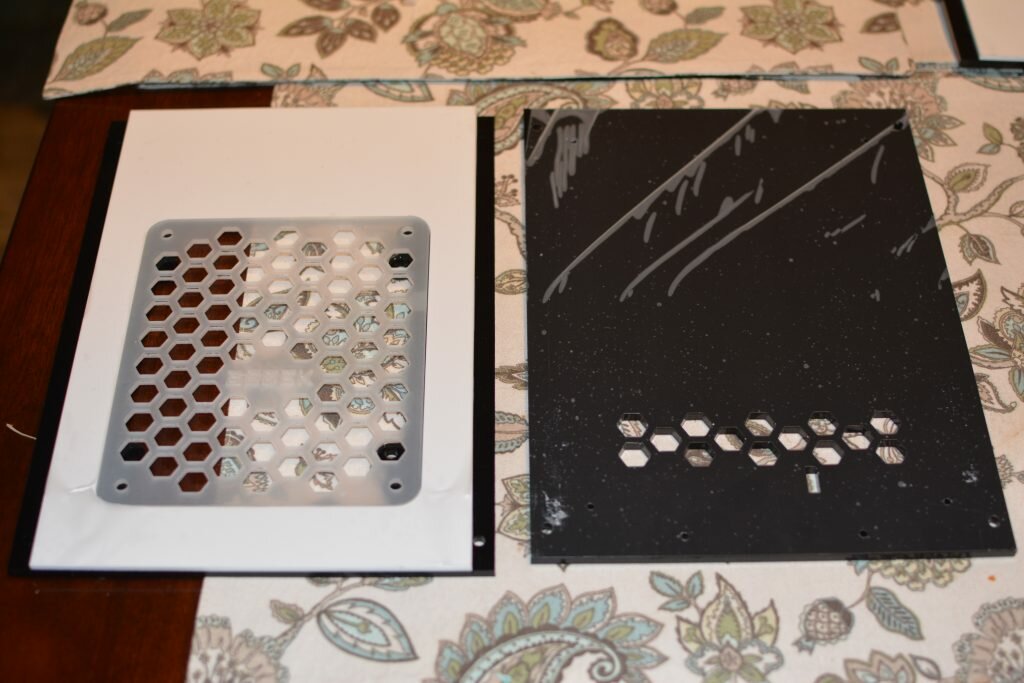
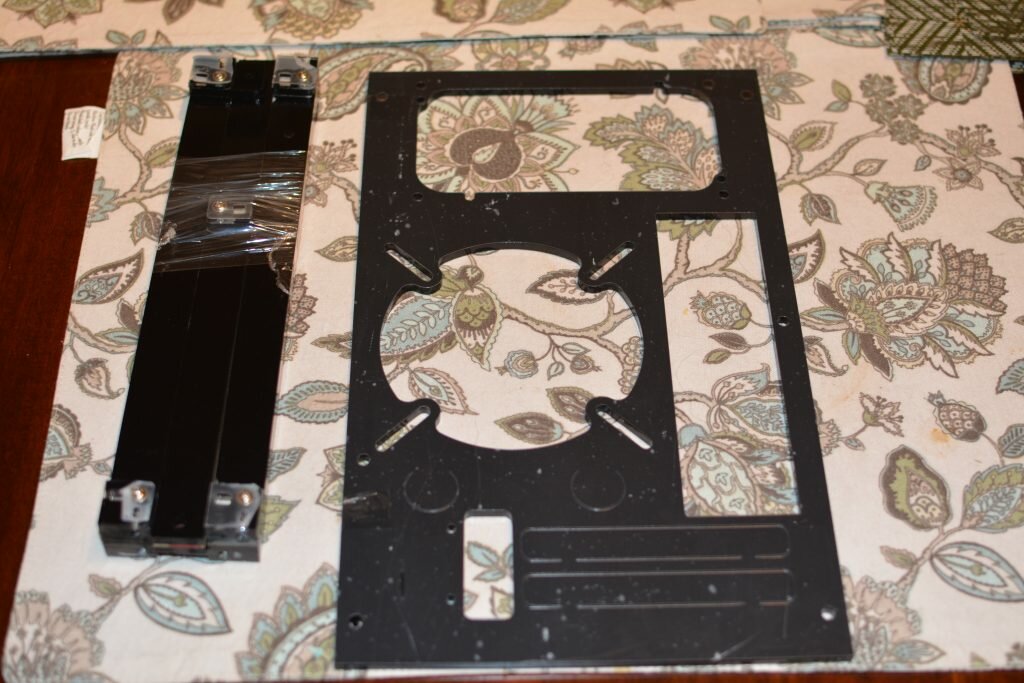
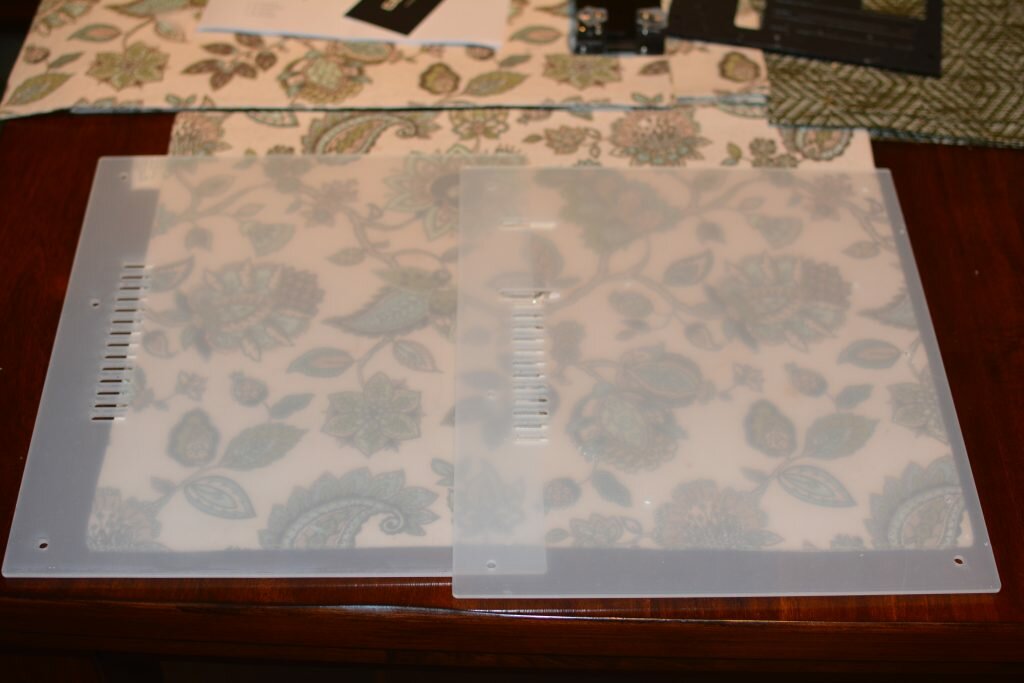
When the case arrived to my doorstep, I almost forgot what I ordered. It came packaged in a small box that didn’t look like it could hold a case. Once I opened the box I realized that the box was exactly the size it needed to be because all of the acrylic pieces were all neatly stacked on top of each other and they didn’t take up much room.
This is a case that you will have to fully assemble. All of the acrylic pieces come protected with plastic film on one side and then a paper backing on the other.
Building the Case
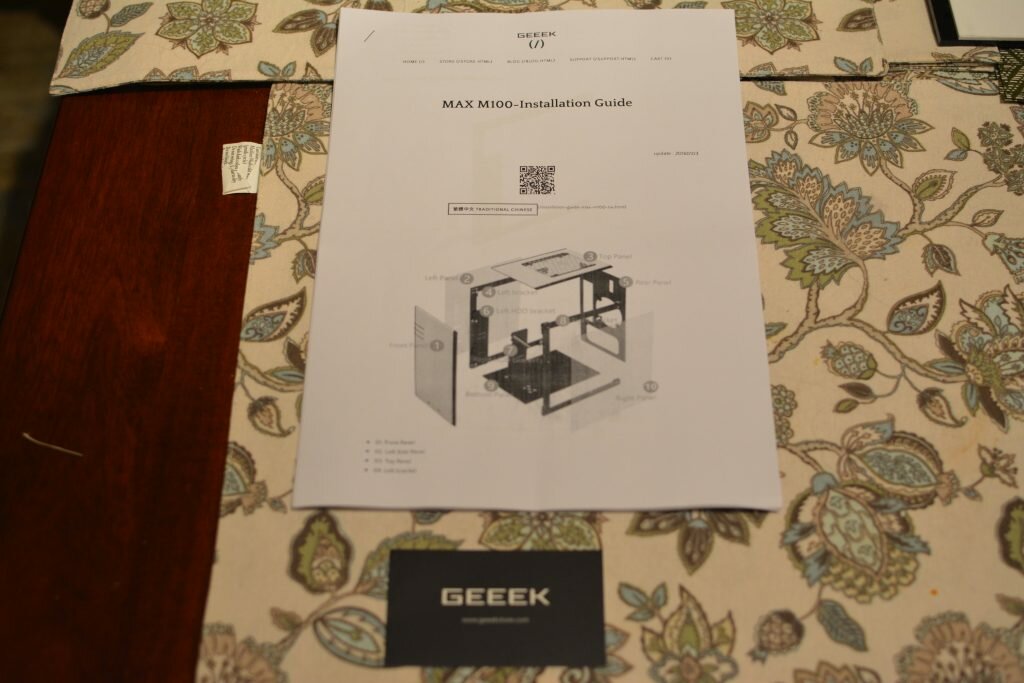
The first step before installing hardware is to fully assemble the case. This was not an easy task because the instructions that were included were in the Taiwanese language and printed in black and white. The first few steps of the instruction manual described in pictures which piece to put together, but didn’t specify which screws to use. This was the first issue I had.
After consulting the same directions on Geeek’s website in color, it was a little more clear which screws to use. If the hardware inside the provided container was organized by which step in the assembly process to use it, there would be a lot less confusion. After completing the first few steps the case came together without much difficulty. Remember when assembling the case that it is acrylic and screws should not be over tightened because that could result in damage to the panels.
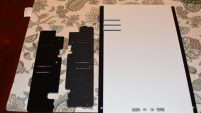
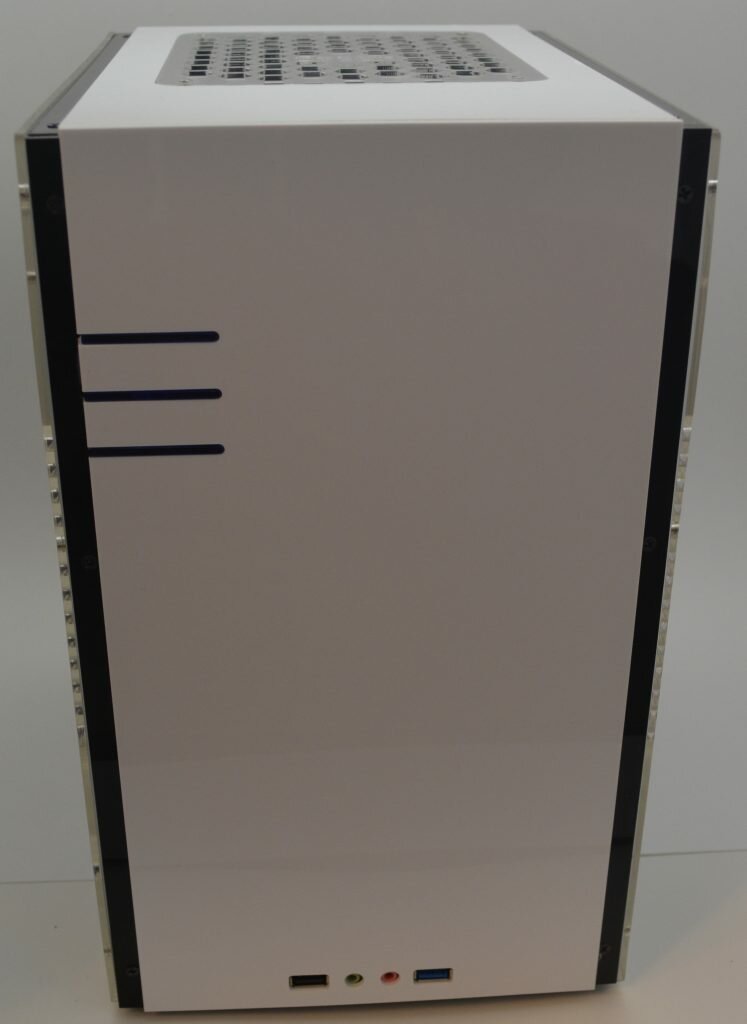
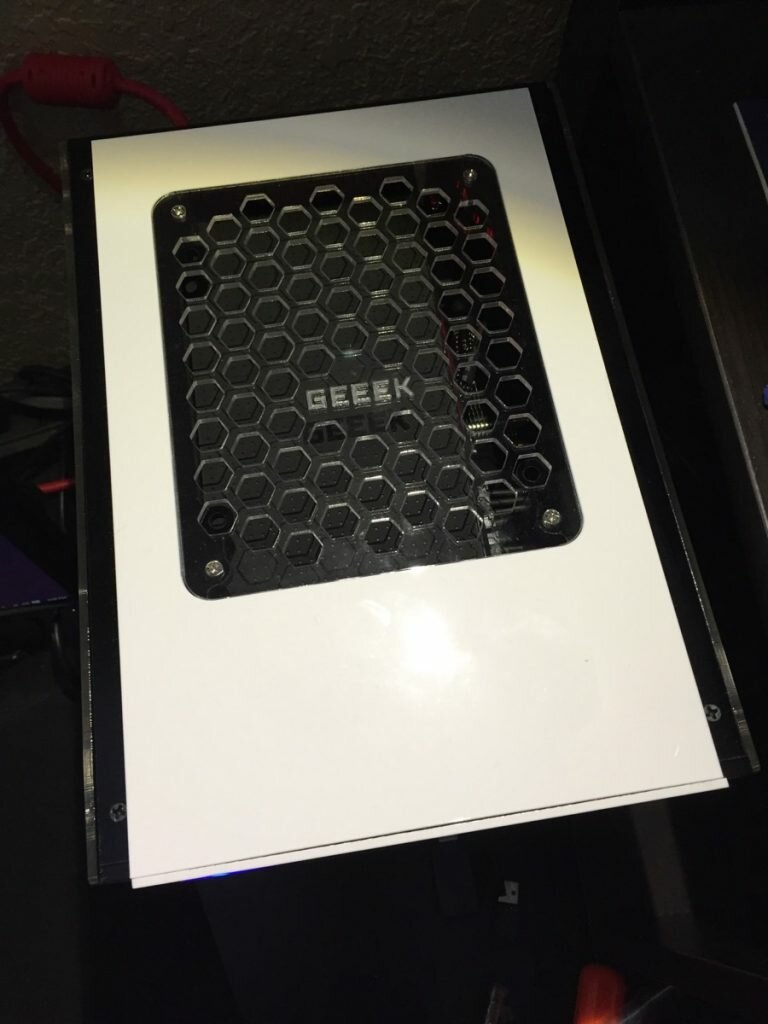
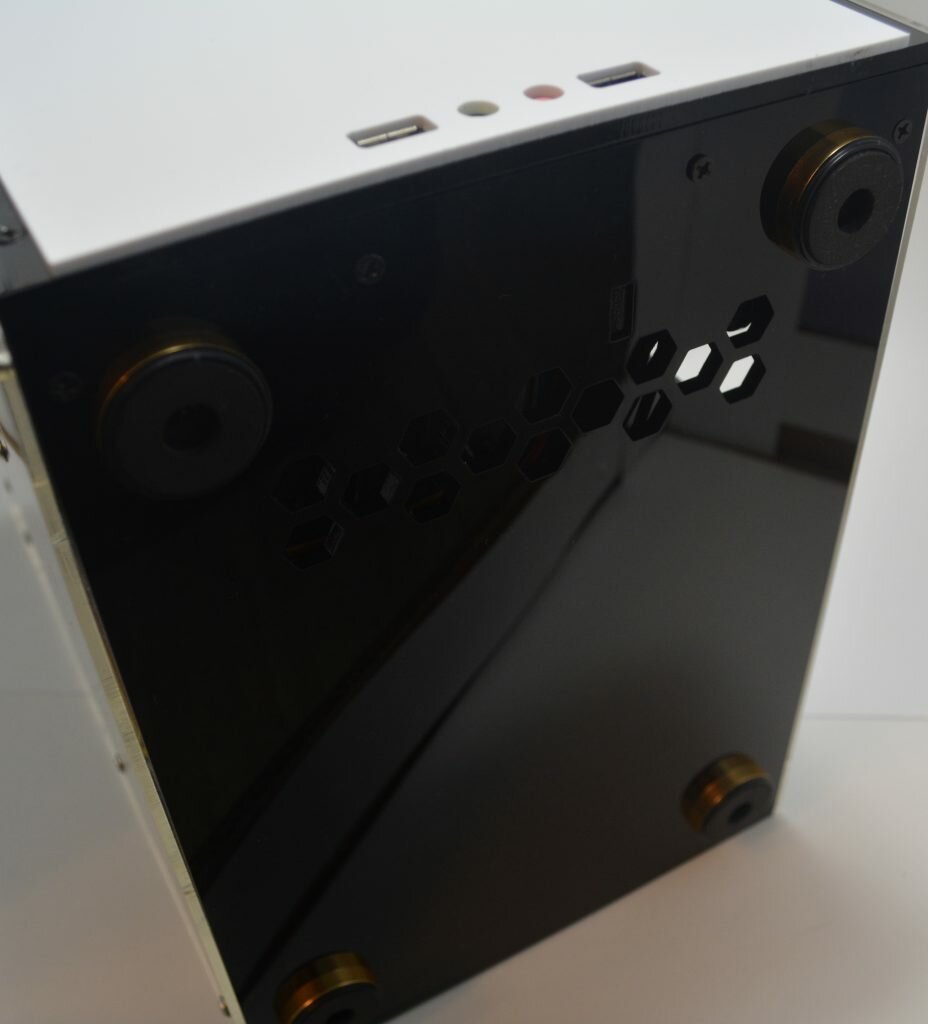
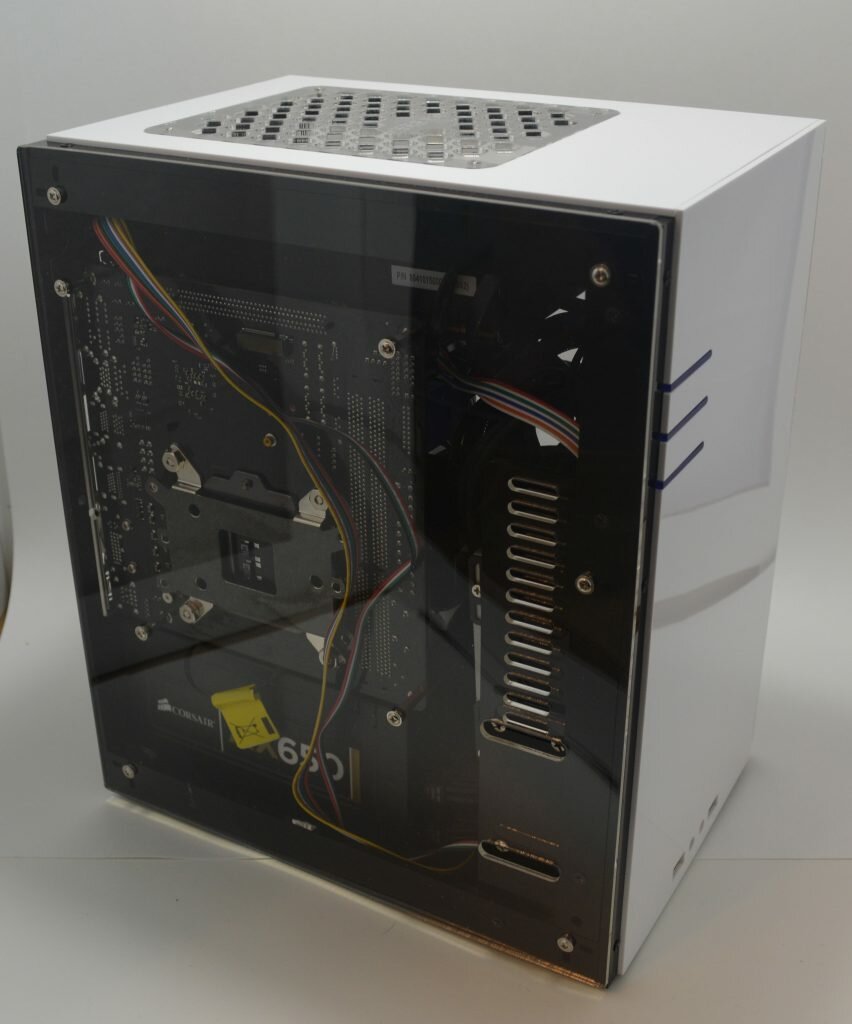
The front of the case is a nice white acrylic that has the front I/O placed at the bottom which features one usb 2.0 port , a headphone jack, microphone jack and one USB 3.0 port. On the top left side of the front, there are three slits that have dark acrylic inserts. The top slit is where your power led is at and the third one is where the red reset led is placed. The power button is in between the first and second slit and the reset button is between the second and third slit.
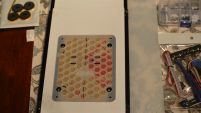
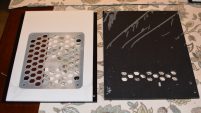
Below the fan grill, you can place a 120mm fan to feed straight into the case or into your graphics card.
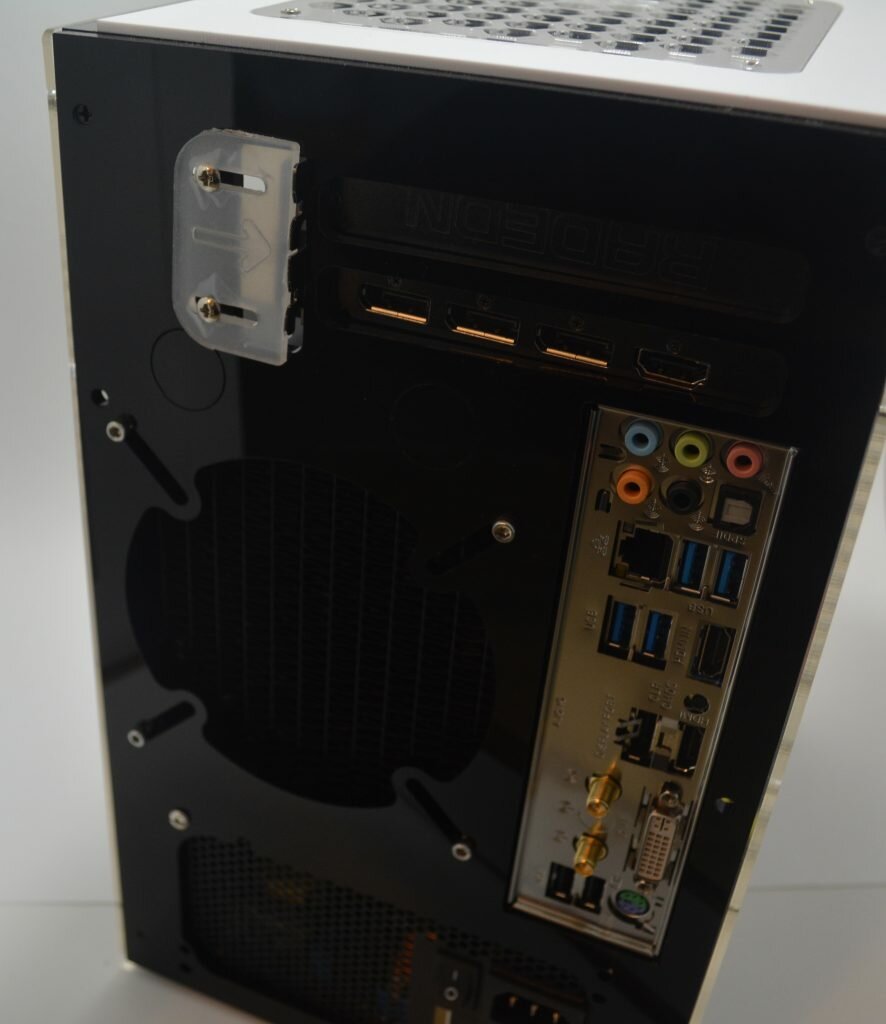
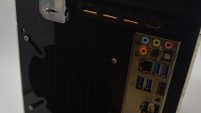
The rear of the case is also black acrylic and features an interesting clear acrylic piece that slides against your graphics card PCI bracket to secure the card (it surprisingly does it well). There is a place to put a 120mm exhaust fan, but be careful a fan grill in not included (Geeek mentioned they are considering including one). It’s important to note that the rear I/O shield is not able to pop in like a normal metal case, it is held in place once the motherboard is installed.
System Parts:
- Processor: Intel Core i7-4790K
- Motherboard: Asrock Z97E-ITX/AC
- Graphics Card: Visiontek Radeon R9 Fury X
- Memory: Corsair Vengeance LP 8 GB
- HDD: Western Digital Caviar Blue 500 GB
- SSD: Corsair Neutron XT 120 GB, OCZ Vertex 460 120 GB
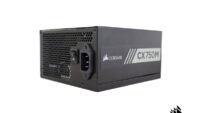
- Power Supply: Corsair AX650
- Cooling: Cooler Master Hyper 212 EVO
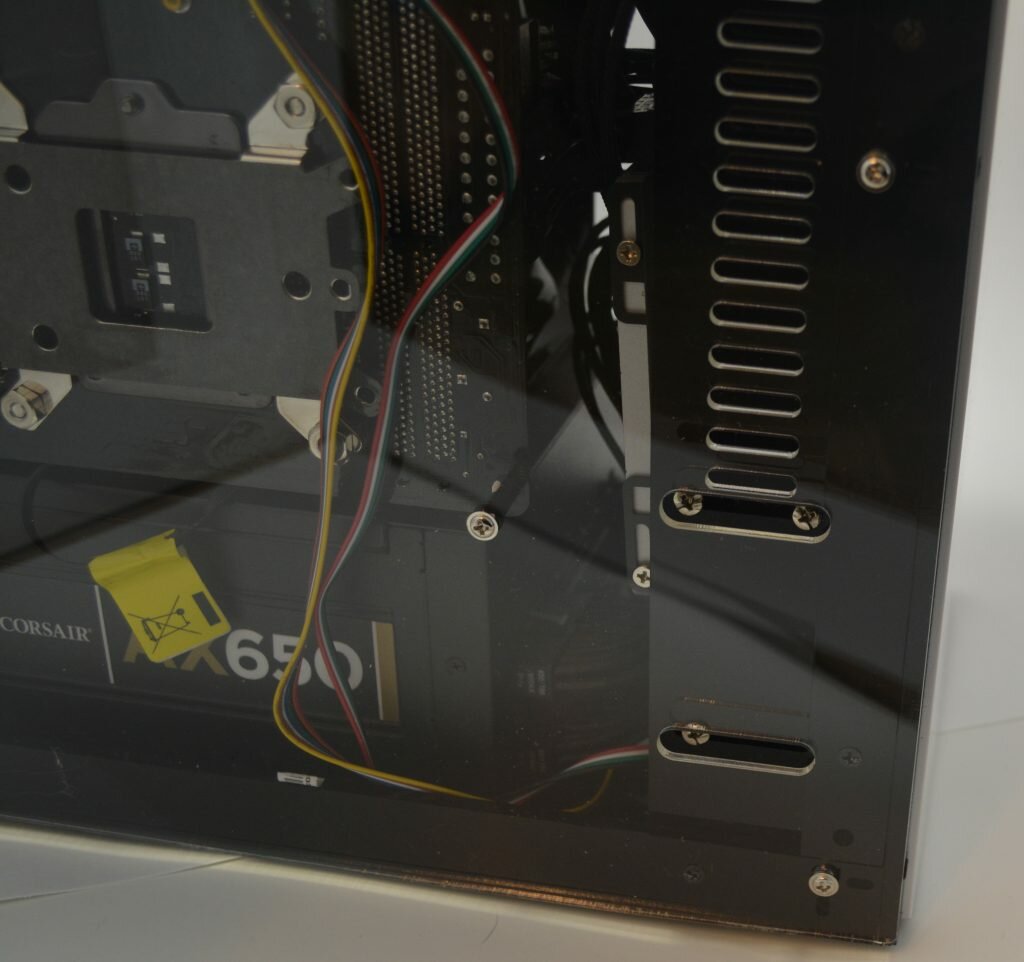
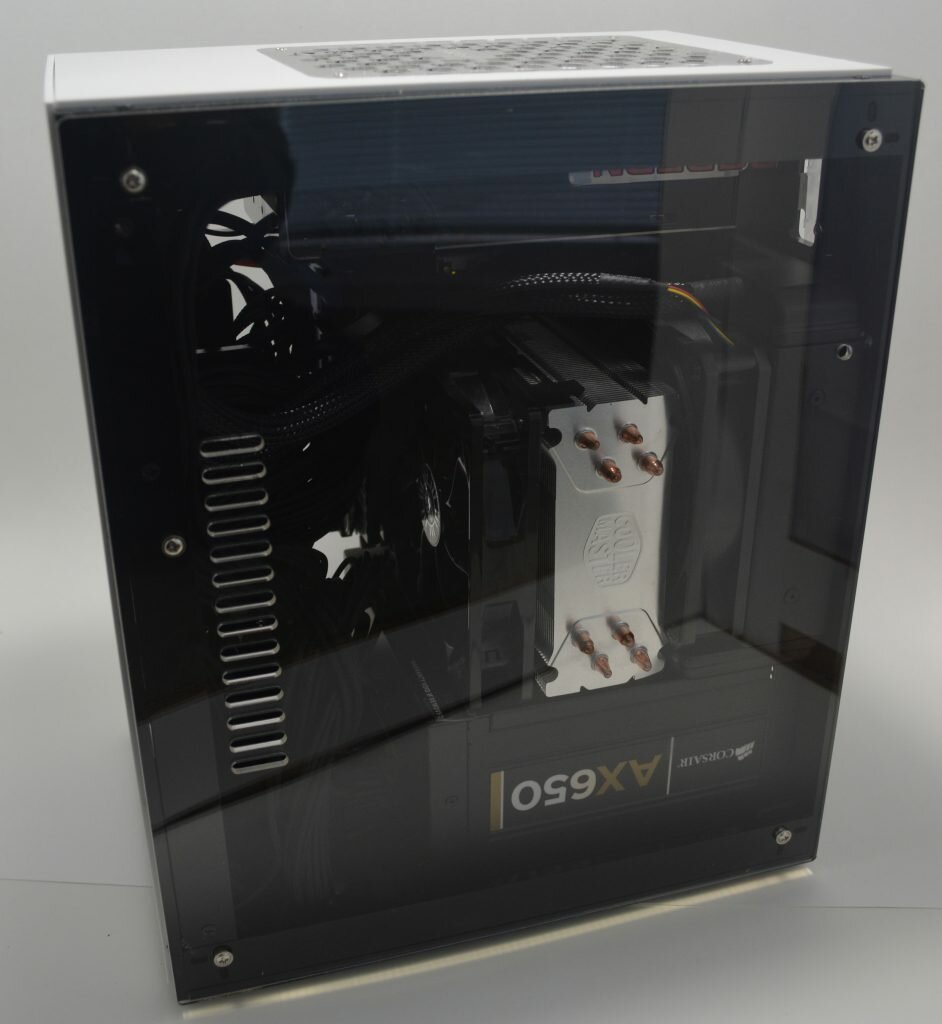
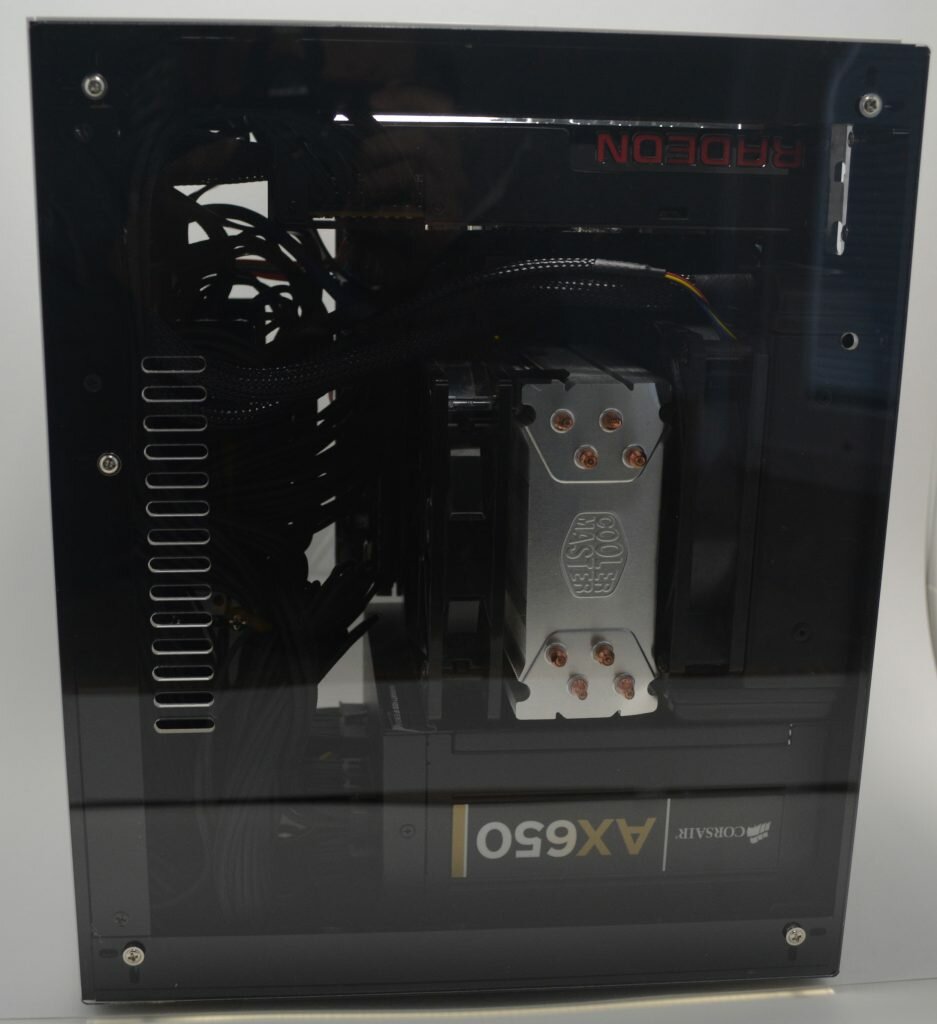
As with all M-ITX systems, I planned out the build carefully to make sure that all parts fit and that I was cautious that there isn’t much room for cable management. I wanted to see how much hardware I could fit inside this tiny case. As you can see I was able to fit some high end components, but this was not an easy task. The power supply has to be installed with the fan up as there is no ventilation holes for it to draw air from the bottom of the case. I was only able to secure AX650 with two screws, the two other holes were not aligned.
To get the Hyper 212 Evo installed, I first had to install the motherboard, storage drives, the power supply and then finally the Hyper 212. It is difficult to install the power supply after you install a cpu cooler.
Since there is not much cable management room inside the case it is important to try and use a modular power supply to only use the cables that you need. If you don’t install two drives or more inside the case you can use the storage drive area to try and hide your cables.
As you can see it is a tight fit between the Hyper 212 Evo and the Fury X. The Fury X had to be carefully installed last. The Fury X is the most powerful and smallest GPU that I have on hand. Any GPU under 255mm will easily fit inside this case and also allow the ability to be able to install a 120mm AIO liquid CPU cooler. I also had to get some 6-32 x3/8″ screws to be able to secure the Fury X radiator because normal length radiator screws were not long enough to make up for the acrylic’s thickness.
Another thing to note is the fitment of the Hyper 212 Evo. Due to the placement of the 1150 socket on this Asrock z97 ITX motherboard, it is placed near the top of the motherboard when looking at standard orientation (or bottom for this case, because it is mounted inverted), this creates very little room between the top of the power supply and the tower heat sink. The clearance is so tight that I had to take one side of the fan mounts off because it would not clip onto the heat sink. It’s currently being held on with scotch tape.
I do not blame Geeek for this clearance issue. It just happens to be because I am using the motherboard, CPU heat sink and power supply that I have that there is a clearance issue. If the air-cooled CPU cooler doesn’t extend to far past the parameters of the CPU socket there are no issues. With mounting a radiator for water cooling the CPU there would also not be any clearance issues.
Lastly, with the Hyper 212 Evo being so close to the radiator of the Fury X, you would imagine that one of them would be suffering to keep cool. This is not the case for standard and gaming loads as I only noticed the GPU reaching mid 60’s and CPU temps reaching about the same. When running ASUS ROG Real bench for stress testing purposes, anything above 4.2 ghz would cause the temps to rise into the high 90’s. This shows that the Hyper 212 Evo suffers from heat soak at stress testing loads because there isn’t much room behind the heat sink to get rid of the heat.









What size of this packaged?